Which 7 property staging ideas should Mississauga sellers try?
Seven room-by-room property staging ideas for Mississauga, Brampton and the GTA with checklists, DIY vs pro options and day-before photo steps.

Amit Chopra
REALTOR® · RE/MAX Optimum Realty
Sellers in Mississauga, Brampton, Toronto and the broader GTA can use targeted staging to improve listing photos and attract the right buyers. Local industry guidance encourages thoughtful presentation to help a listing stand out, and a simple, repeatable staging plan helps sellers move confidently from preparation to market launch. For regional context and practical presentation tips consult the Toronto Regional Real Estate Board's staging guidance and review your listing agent's seller page for a pricing and marketing plan that matches staging choices. For a personalised review, visit Amit Chopra.
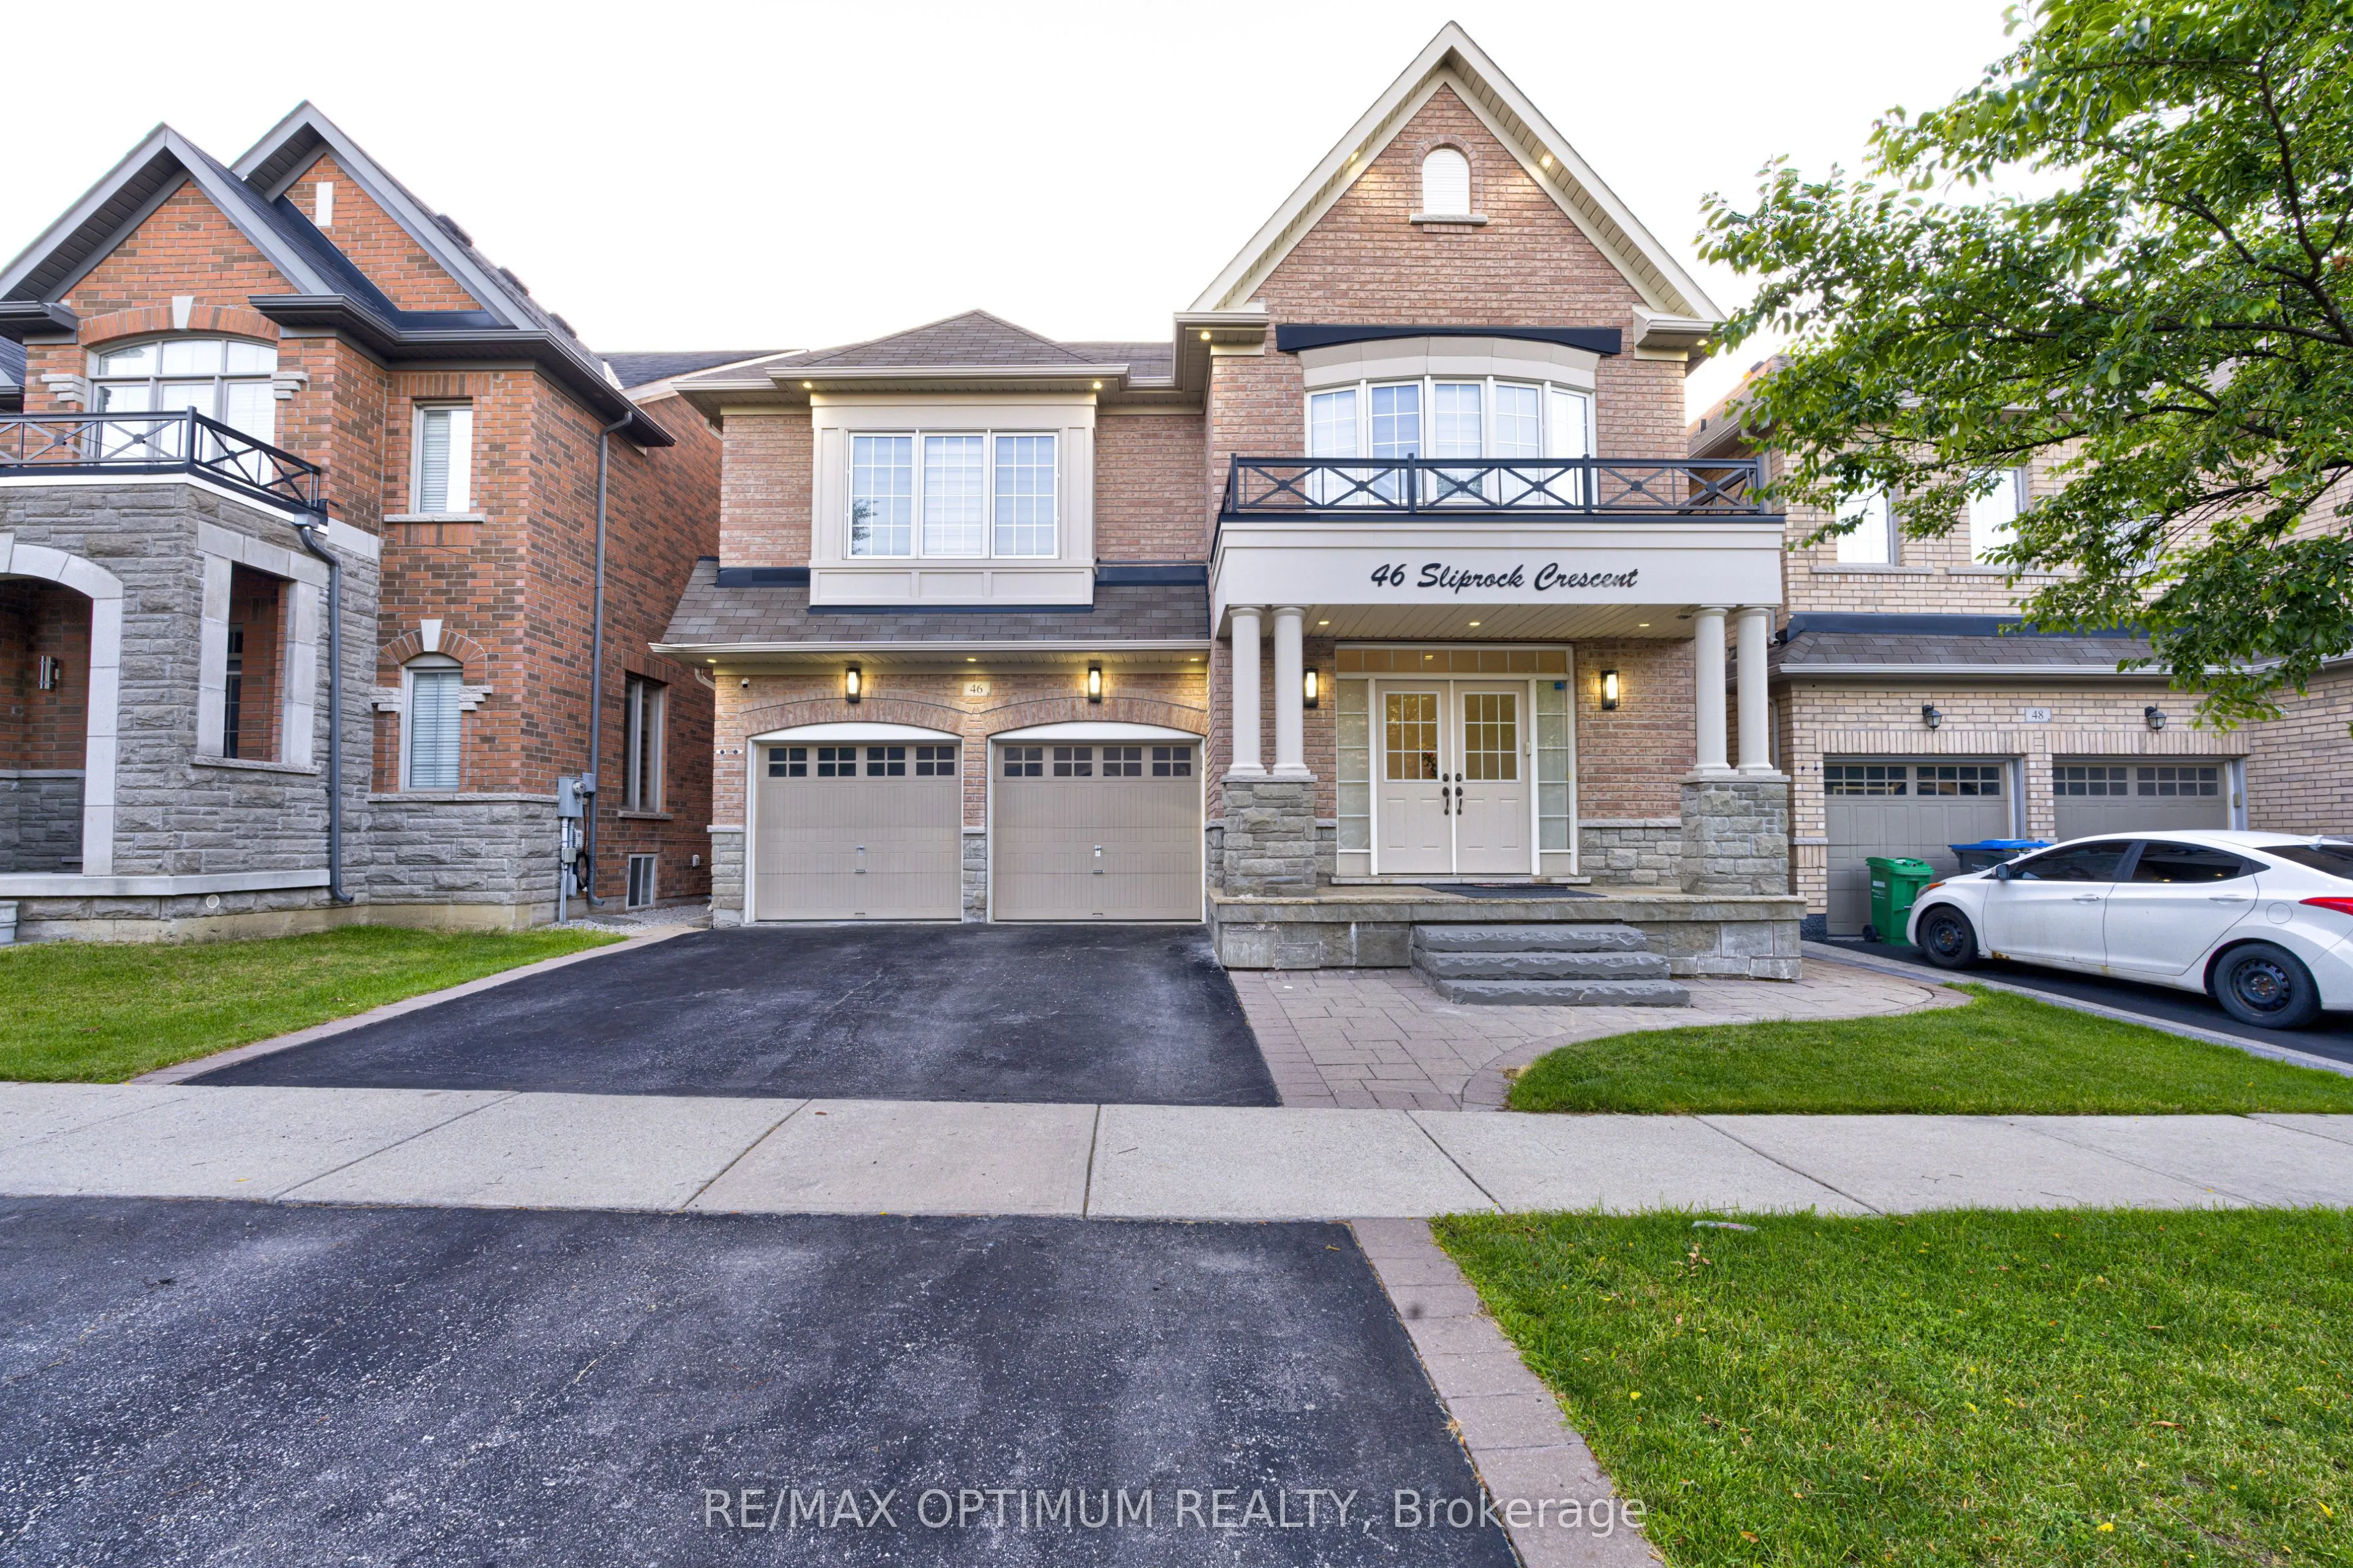
1. Curb and entry refresh to boost first impressions
Why this matters
Buyers start judging a property from the street. A tidy, welcoming exterior increases the chance they step inside with a positive frame of mind.
Checklist
- Trim hedges, mow the lawn, sweep the driveway and clear walkways.
- Clean the front door and hardware, replace a worn welcome mat, add two matching planters for symmetry.
- Wash windows visible from the street and remove clutter from porches and stoops.
- Ensure house numbers are visible and in good condition and replace damaged mailbox hardware.
DIY vs professional
- DIY: Fast tidying, sweeping, simple plant placement and polishing hardware are low cost and effective.
- Pro: Hire a landscaper or pressure-wash service when there are persistent stains, uneven paving, or mature-tree pruning needs.
Time to complete
Two to eight hours for a DIY refresh; one to three days if scheduling professional landscaping or pressure washing.
Best for
Detached and semi-detached homes gain the biggest lift from curb improvements; condo sellers should tidy building entrances, lobby areas and mailbox zones to create the same welcoming effect.
2. Declutter and neutralize main living areas for clearer photos
Why this matters
Decluttering opens visual space in photos and showings and helps buyers better imagine their own furniture. Consumer resources recommend depersonalizing so images appeal to the broadest audience.
Checklist
- Remove family photos, excess ornaments and small furniture that interrupt flow.
- Store off-season items and clear kitchen counters to one or two clean focal points.
- Use matching storage boxes or baskets to tidy open shelving and closet entrances.
- Arrange seating to create conversation zones and visible walkways.
DIY vs professional
- DIY: Rent short-term storage or borrow shelving organisers for low cost and fast results.
- Pro: A stager will depersonalize, bring rental furniture for balance and provide a neutral layout tuned for photos.
Time to complete
Half a day to two days depending on volume and whether you rent storage.
Best for
Condos and compact main floors see the biggest visual gain from smart decluttering and scale-aware furniture choices.
3. Kitchen and bathroom brightening to emphasise condition
Why this matters
Kitchens and bathrooms strongly influence perceived property value. Small, photo-focused updates make these rooms read as well maintained in listing images and during showings. Practical guides highlight cleaning and improved light as high-impact moves.
Checklist
- Clear countertops except for one styled item such as a bowl of fruit or a single plant.
- Replace tired cabinet hardware, re-caulk or refresh grout lines, and polish mirrors and taps.
- Switch to bright, daylight-balanced bulbs and add under-cabinet lighting where possible for photos.
- Deep-clean or schedule a professional clean for grout, vents and appliances.
DIY vs professional
- DIY: Hardware swaps, mirror polishing and fresh bulbs are quick wins.
- Pro: Hire a specialist for grout restoration, cabinet refacing or professional detailing when surfaces need repair.
Time to complete
Two to 24 hours for DIY tasks; one to five days if scheduling trades or professional cleaning.
Best for
All property types benefit, but kitchens and bathrooms in older houses often need professional attention to compete effectively in the GTA market.
4. Strategic furniture arrangement to show flow and function
Why this matters
A layout that demonstrates use and circulation helps buyers understand how each room could fit their lifestyle. Staging professionals advise purposeful vignettes and proportionate furniture to enhance perceived size and function.
Checklist
- Remove one large piece of furniture per room to reveal floor flow and light sources.
- Create clear entry lines and a central focal point for each room, such as a fireplace or media wall.
- Add a small home office setup or reading nook to show multi-function rooms.
- Ensure furniture scale matches room size and keep pathways at least 75 cm wide where possible.
DIY vs professional
- DIY: Rearranging and removing pieces works for many sellers; use borrowed or rented smaller items for balance.
- Pro: Furniture rental or virtual staging can fill gaps, and a stager will create intentional flow for photography.
Time to complete
One to four hours per floor for a DIY rearrange; one to three days when coordinating rentals or professional staging.
Best for
Both condos and detached homes benefit. Condos especially need scale-aware arrangements to avoid feeling cramped in photos.
5. Light, colour and texture for photogenic rooms
Why this matters
Good light and calm colour palettes photograph consistently and invite emotional connection. Add texture to avoid flat images while keeping colours neutral enough to appeal broadly.
Checklist
- Replace bulbs with 2700K to 4000K daylight-balanced LEDs for consistent photos.
- Add a neutral area rug, three coordinated cushions and a statement throw to create depth.
- Consider a single fresh, neutral coat of paint in small accent spaces; avoid repainting the entire home unless necessary.
DIY vs professional
- DIY: Bulb swaps and textiles are low cost and fast.
- Pro: A stylist can advise palette tweaks and source high-end props for luxury listings.
Time to complete
Two to six hours for bulbs and textiles; one to three days for paint or professional styling.
Best for
Universal benefit; especially useful where natural light is limited or photos look flat.
6. Create lifestyle vignettes and usable outdoor space
Why this matters
Small scenes that suggest lifestyle—an evening patio set, a kid-friendly corner or a balcony breakfast nook—help buyers picture living there and expand perceived usable area. Stagers use distinct techniques to highlight different property types.
Checklist
- Stage a small patio or balcony with a two-seat table, a rug and low-maintenance plants.
- Create a breakfast nook or entry bench to display a functional moment.
- Keep outdoor toys and tools stored away to suggest low maintenance and space for entertaining.
DIY vs professional
- DIY: Use affordable textiles and compact furniture for seasonal staging.
- Pro: Hire a stylist for cohesive outdoor scenes that photograph well or a landscape pro for major yard work.
Time to complete
One to six hours for small vignettes; one to five days for larger outdoor staging or landscaping work.
Best for
Condos with balconies and detached homes with patios or yards gain the most buyer engagement from lifestyle staging.
7. Day-before photos checklist and a DIY versus pro decision flow
One-page day-before checklist
- Quick clean: vacuum, mop, wipe surfaces, empty trash and clear sinks.
- Remove personal items and hide cords, pet bowls and visible medication.
- Set thermostat to a comfortable temperature and open curtains to maximise light.
- Arrange one or two simple props: a folded throw, a cookbook or a bowl of fruit.
- Check exterior lighting, remove parked cars from the driveway if possible and sweep walkways.
DIY vs pro decision flow
Decide based on four questions: how tight is your timeline, is the property in move-in condition, who is the target buyer and do you have budget for rentals or styling? If you have limited time and the property is in good condition, DIY staging and a professional photographer typically suffice. If the home is dated or you aim for a premium listing, professional staging and targeted repairs are worth considering. When evaluating local options, review portfolios, scopes of work and rental furniture costs.
When to call your listing agent
Bring staging questions to your listing agent during pricing strategy so staging and asking price align with expected buyer demographics and marketing. Amit Chopra can review staging plans, coordinate local vendors and offer a free staging consultation or walk-through to prioritise moves that support your listing strategy. For a personalised review visit Amit Chopra.
Frequently asked questions
How long before listing should I start staging my Mississauga home?
Start staging decisions as soon as you list with an agent. Practical tasks like decluttering and minor repairs can begin two to four weeks before photography. Major updates or professional staging may need one to three weeks to schedule and complete.
Can I stage a condo myself or do I need a professional in the GTA?
Many condo sellers succeed with DIY staging focused on decluttering, lighting and scale-aware furniture. Hire a professional when the unit is small, dated, or you want rental furniture and a cohesive stylist look for higher-end marketing.
What staging moves give the biggest return on time and effort?
Decluttering main living areas, brightening kitchens and bathrooms, and refreshing the front entry typically deliver the most visible improvement for listing photos and showings.
Will staging delay closing or complicate showings with pets and storage?
Staging should not delay closing. Plan for temporary storage of pet items and arrange pet-safe showings. Communicate with your agent about storage keys and pet protocols so showings remain smooth.
How do I choose a local stager in Mississauga or Brampton and what questions should I ask?
Ask for before-and-after photos, a clear scope of work, rental furniture costs, staging duration and references. Confirm whether the stager coordinates with your photographer and agent and compare portfolios to ensure style alignment.
Ready to plan staging that supports your asking price and marketing? Book a free staging consultation with Amit Chopra to align staging, pricing and promotion for your Mississauga or GTA listing.
Planning a move?
Get advice for your situation.
More insights
View all
Mississauga Off-Market Property Listings: What Buyers Should Verify Before Making an Offer
Considering an off-market home in Mississauga? Learn how to verify listing status, value, seller authority, due diligence, costs, and offer conditions.
Read moreBuyer Representation vs. Searching Alone: What GTA Home Buyers Should Compare
Compare buyer representation with searching alone, including affordability, offers, negotiation, Ontario agreements, and closing support for GTA home buyers.
Read more